How to Make Rhinestone Nail Art Step by Step Tutorial Guide
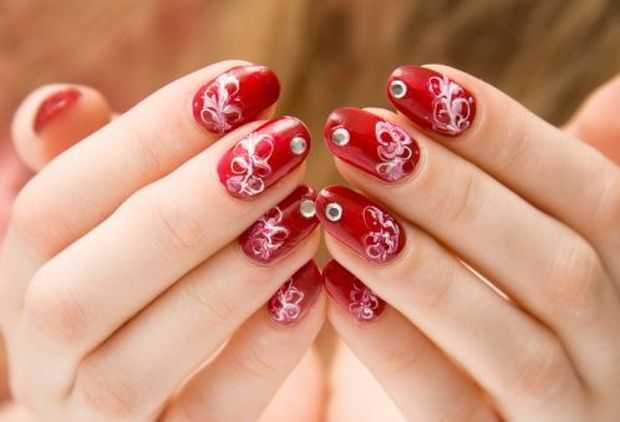
We always learn how to do different sorts of nail arts by strips, etc. Today I have come up with something different, new ways to embellish your nails i.e. studs and rhinestones that are always a fun and easy to apply especially for beginners. Today I will tell you I detail about studs and rhinestones that what they are, how you can use them and from where you can buy these cute accessories. Rhinestone, a small 3D shape with flat plain back are used for designing nails. Studs are made of metal where rhinestones are of plastic. A wide range of different shapes and sizes are available in the market for rhinestones like stars, squares, hearts, circles, etc. Now how to apply rhinestone? This step by step tutorial will help you understanding it & making you an expert in this sort of nail art.
How to Make Rhinestones To Nails: Step by Step Tutorial
These are four easy and basic steps to make rhinestones to nails. It includes base coating, application, picking of rhinestones and again the last coating. Follow the easy steps for your desired looks!
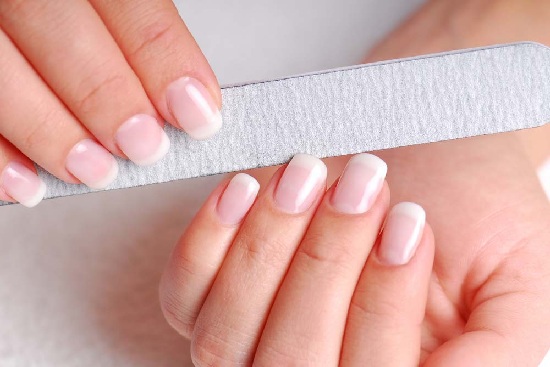
Step 1: Manicure and Base Coating:
First of all before you start your manicure, put the unpacked rhinestone in a near distance so you can easily get them when you want to because it will cause problem to find the pack and wipe it blah blah while your nail paint is getting dry. You need it on your wet nails ok.
Step 2: Picking up a Rhinestone for Application:
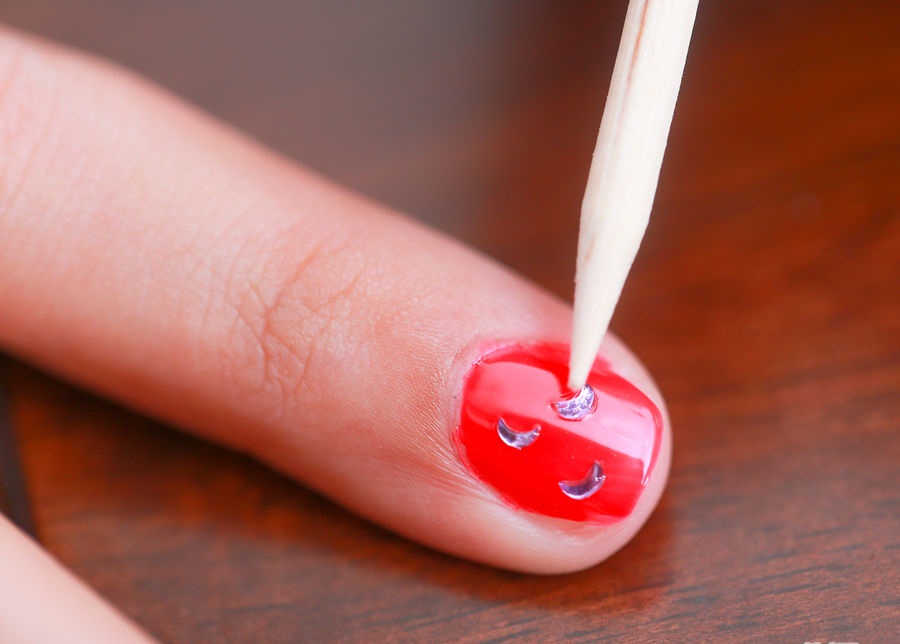
There are various ways of picking up a rhinestone for application, commonly this task is performed by using a tweezer, you can easily pick up the rhinestone from tweezers and drop it on your nail according to the design you are going to make or else if you have nail accessories kit that is easily available in the market, you can use dotting tool dipped in a clear polish. Now there are further ways of using dotting tool that I might be teaching you later on. There are also available ‘rhinestone picker’ that is a pencil with wax based lead which helps picking rhinestone or even a stone but this may leave a white residue, so I don’t suggest you to use it.
Step 3# Decorating Nails:
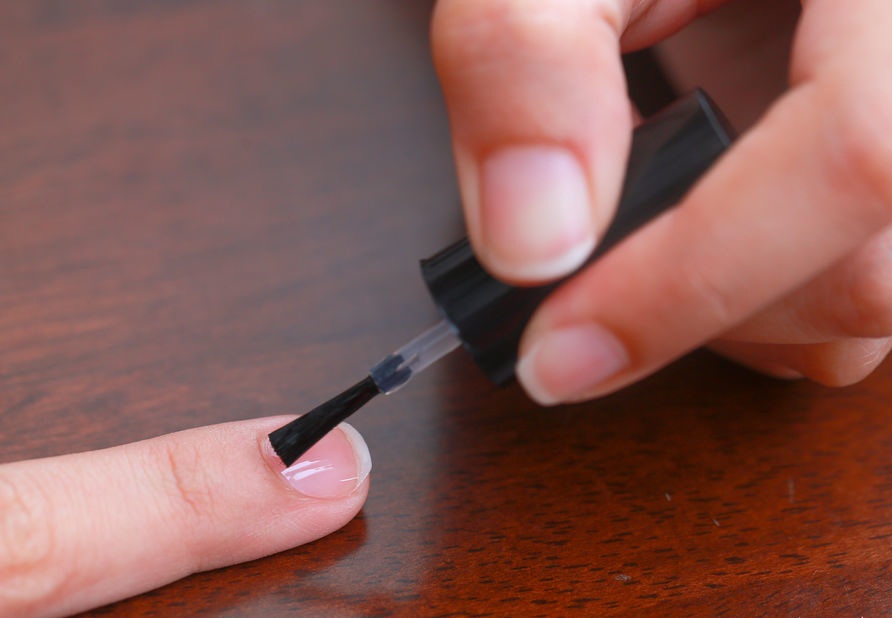
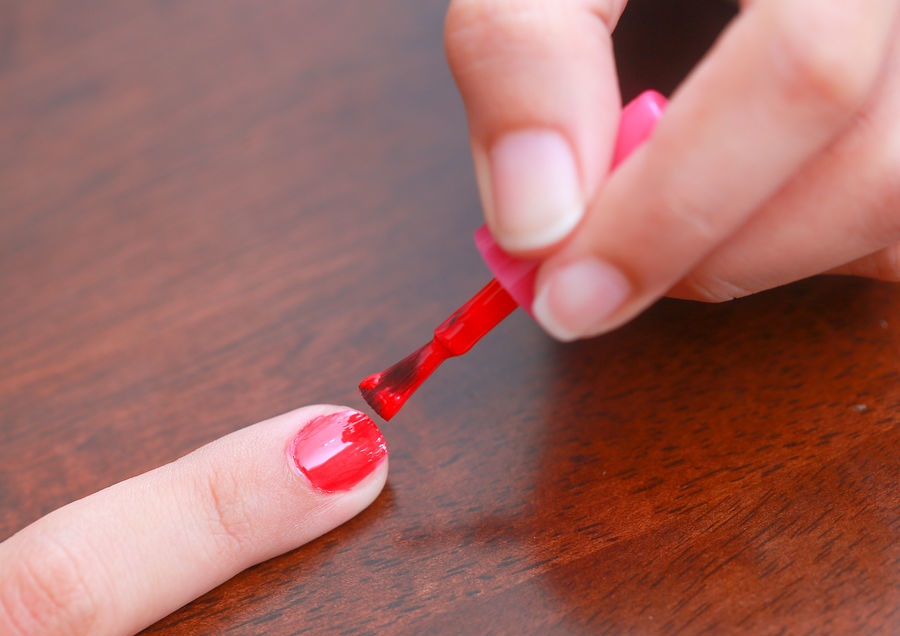
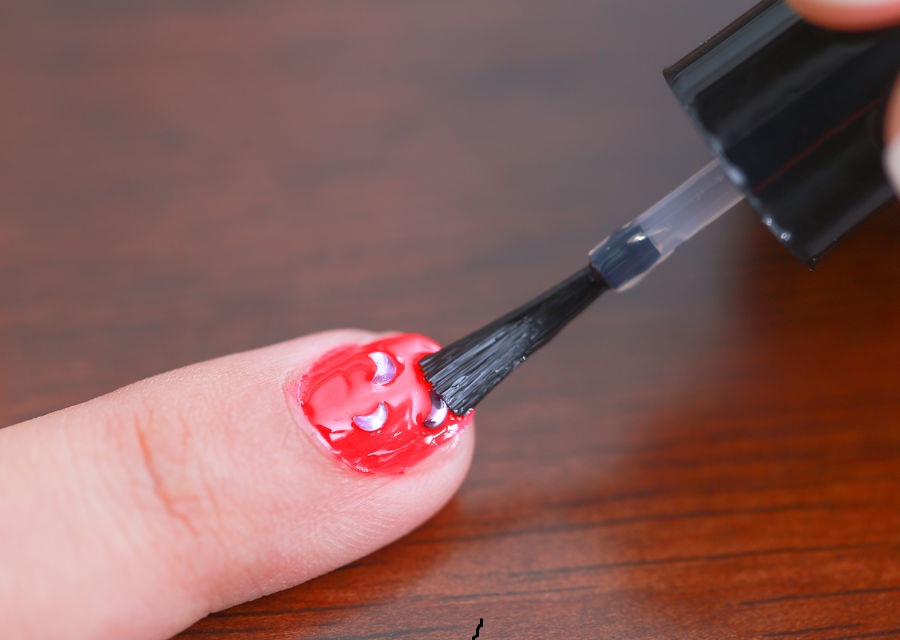
your nails in whatever the way you normally do it except applying the top coat yet. Take one nail as a center of concentration at one time for a fine result. Apply finely a clear nail polish & place your rhinestone carefully where you want to. Keep in mind to place the rhinestone before the nail paint gets dry and for this purpose you can use the clear nail paints that don’t dry fast. If you have a fear of rhinestones get fallen as they are large then use nail glue but according to my experience rhinestones or studs don’t fall for 4 to 5 days.
Step 4: Last Coating:
Now when you are complete with designing your nails apply another coat/top coat to secure rhinestones in their place.
Tada! You are done with your amazing rhinestone nails art.
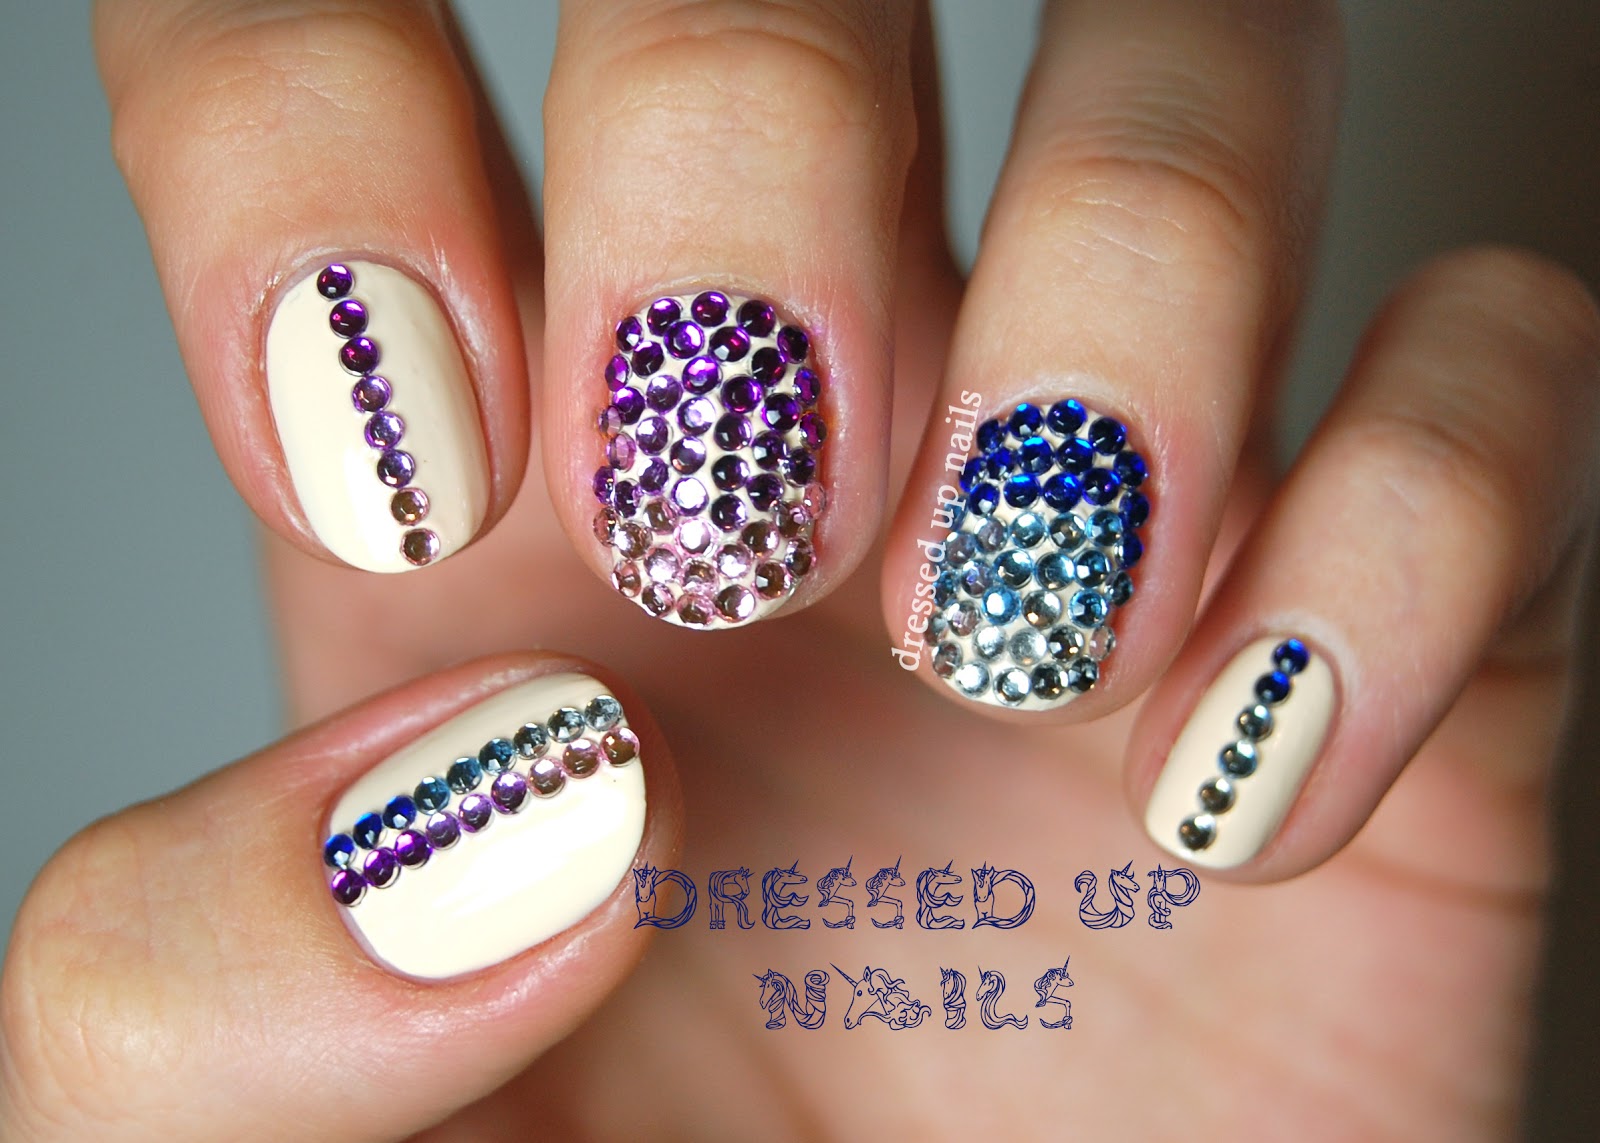
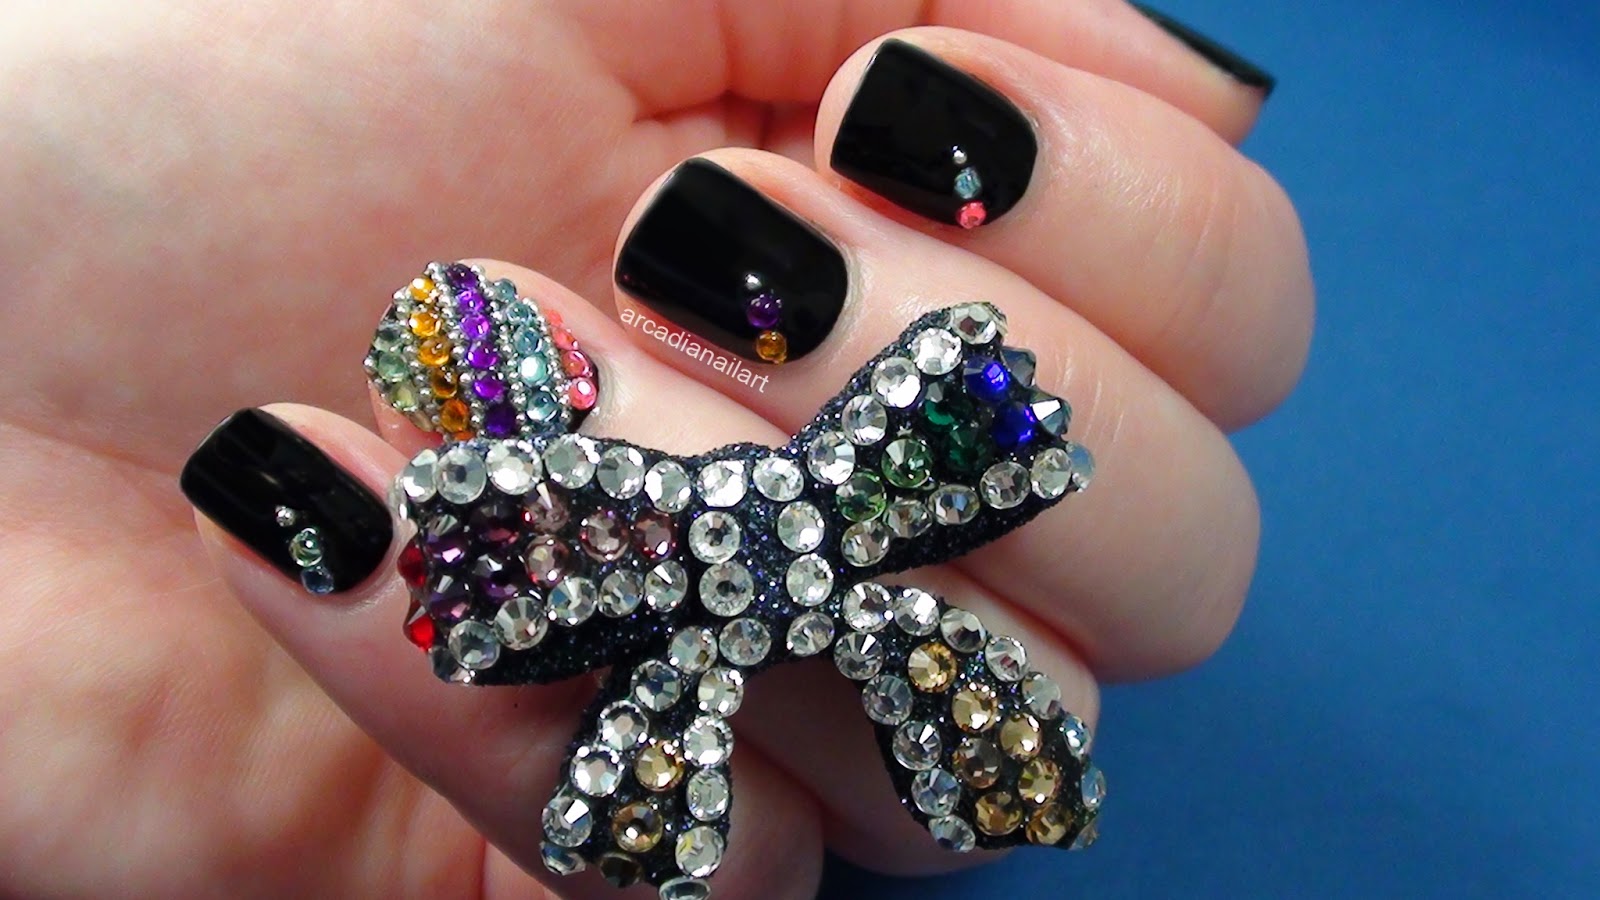
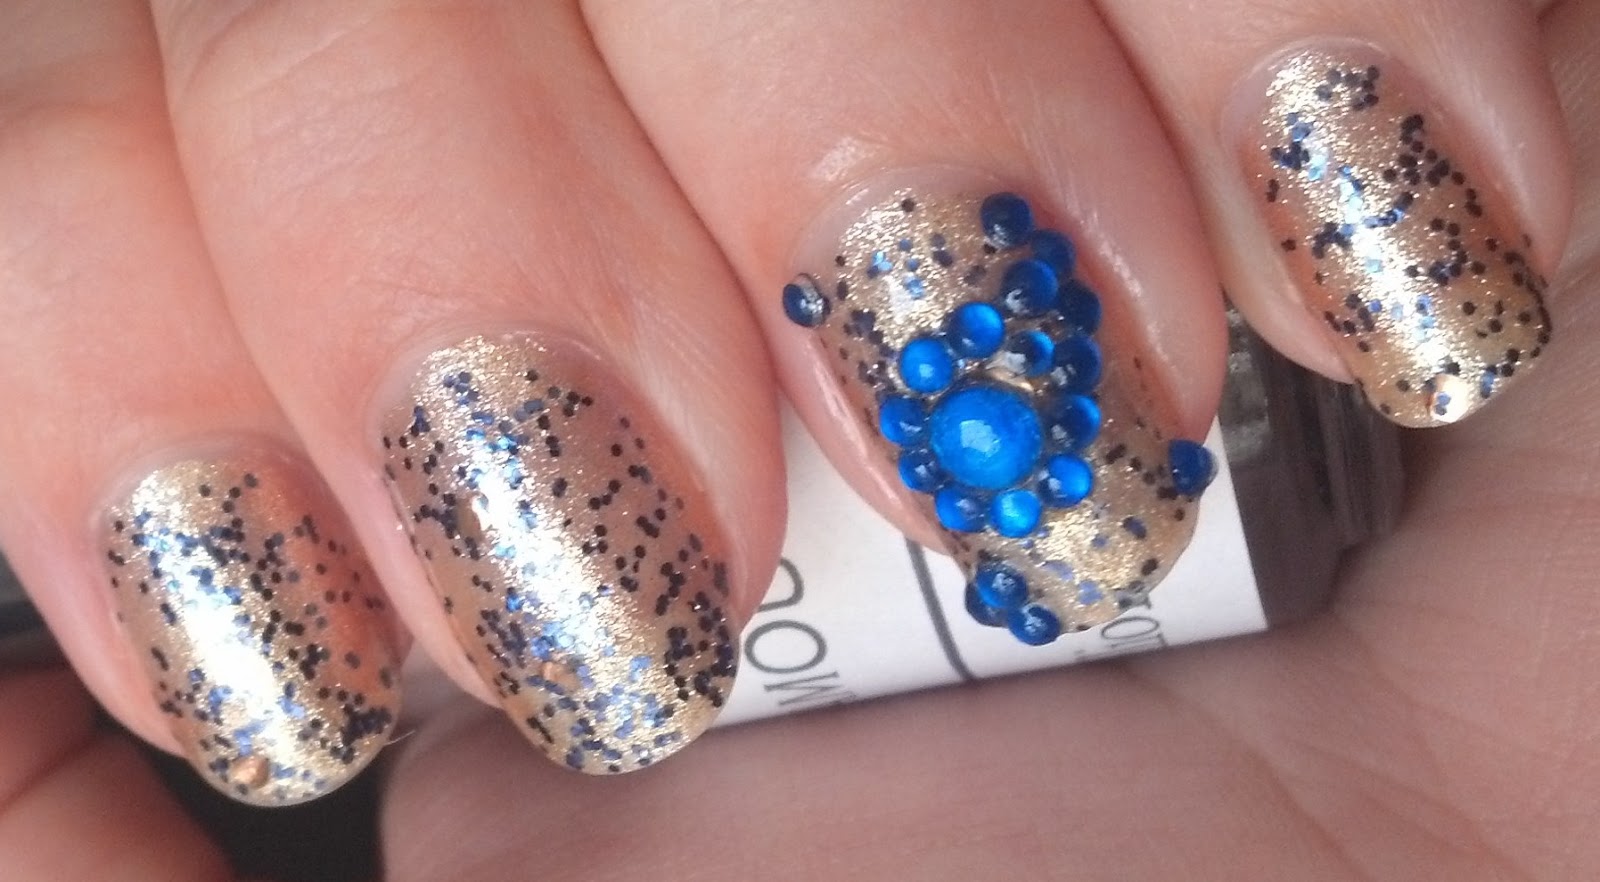
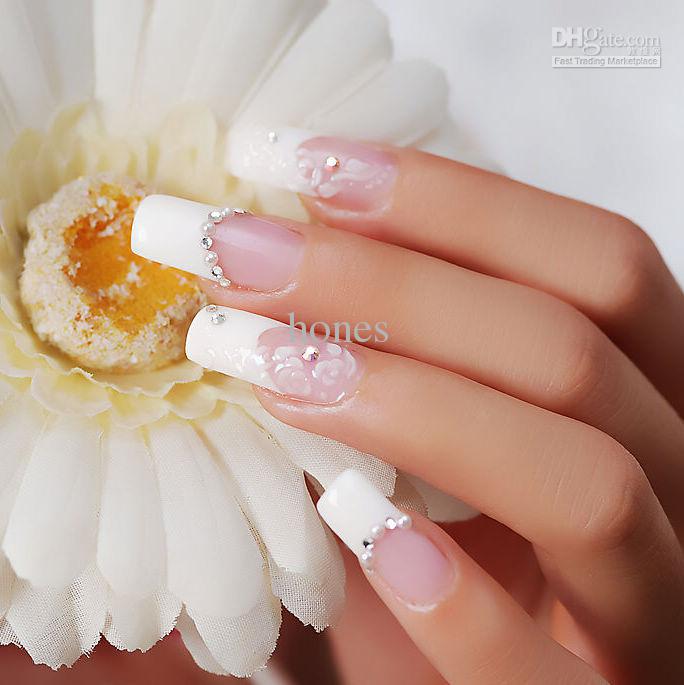
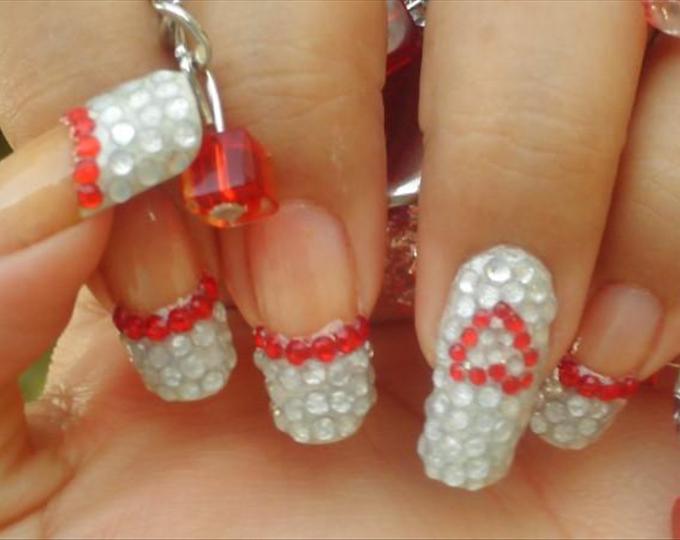
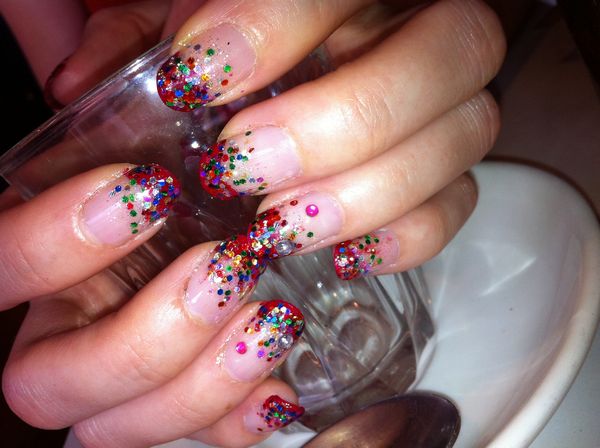
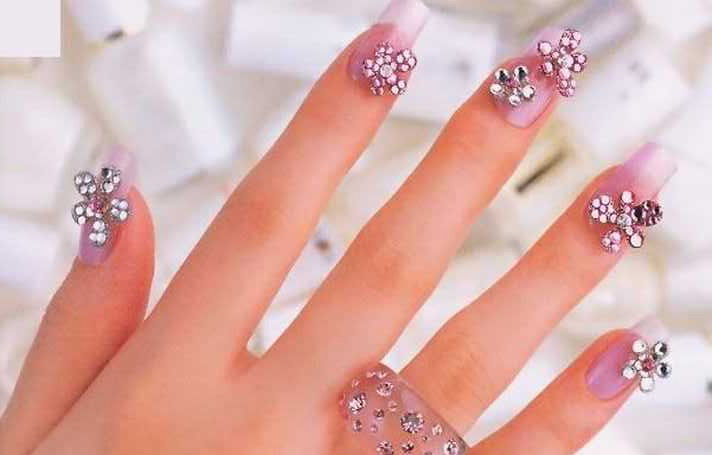
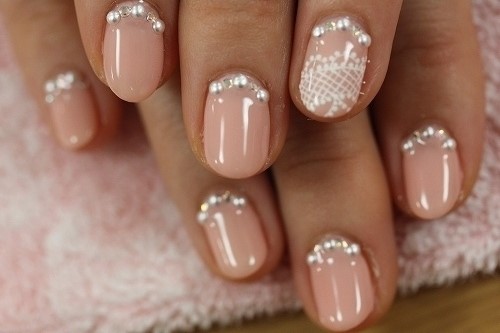
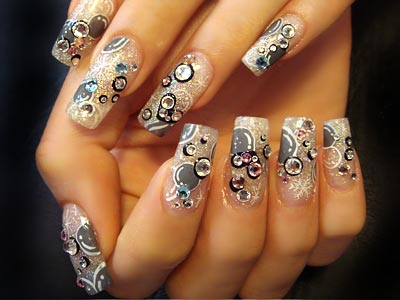
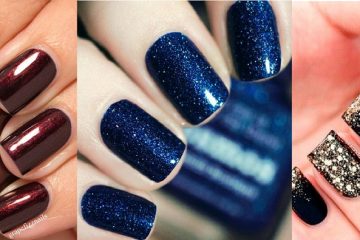
Amazing Rhinestone Nail Arts
- See More As:
- Step by Step French Nail Art Tutorial
- How to Apply Blush On Perfectly-Tutorial Guide
- How to apply a Perfect Base Makeup Step by Step
- 11 Steps To a Perfect Indian Bridal Makeup





No Comment